How to Cut Printable Planner Stickers with Silhouette Studio
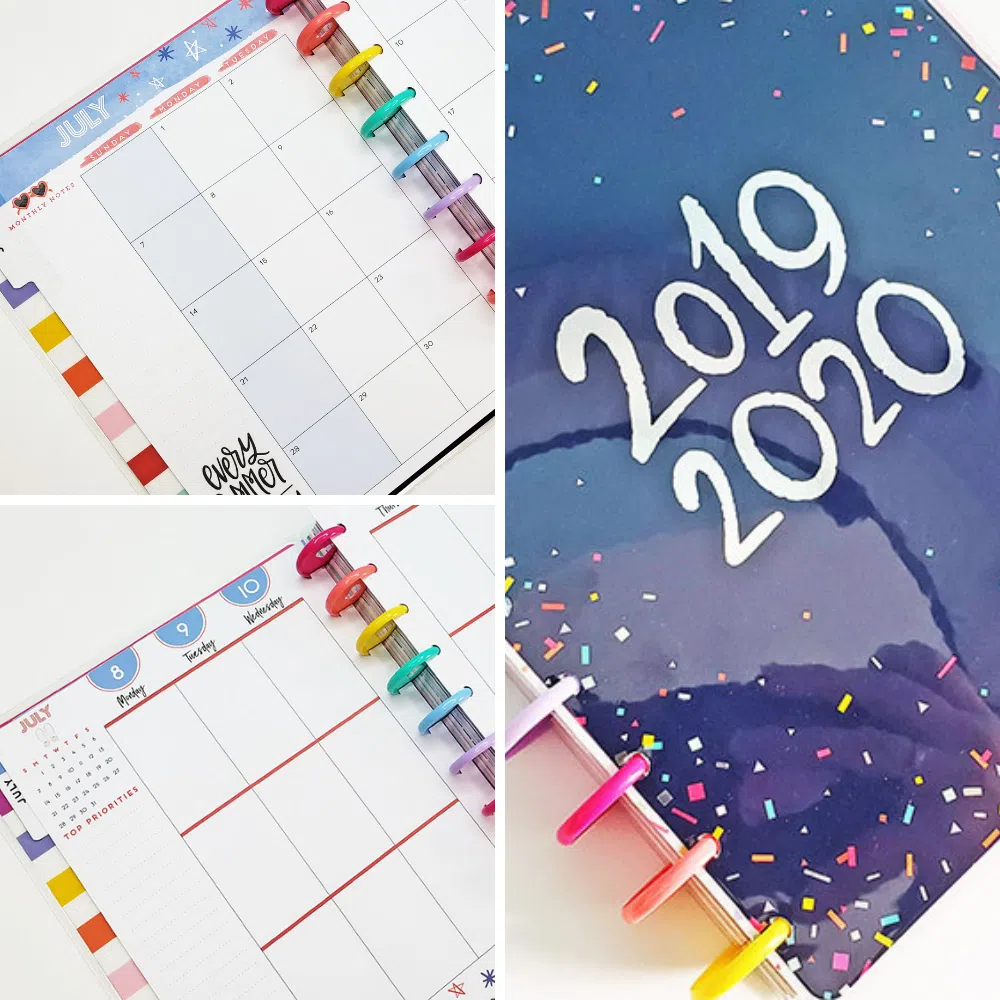
Hey guys! Today I’m sharing a fun tutorial on how you can take printable planner stickers and cut them with your Silhouette Studio software. This way you can print and cut with your silhouette and be ready to plan!
This post is a little outdated, from a time when sticker shops didn’t include cut files with their printables. Go here for an updated tutorial.
![]()
Just a note, I have Silhouette Studio Designer Edition (or Business Edition) but, the basic functions of what I show are the same as the traditional software.
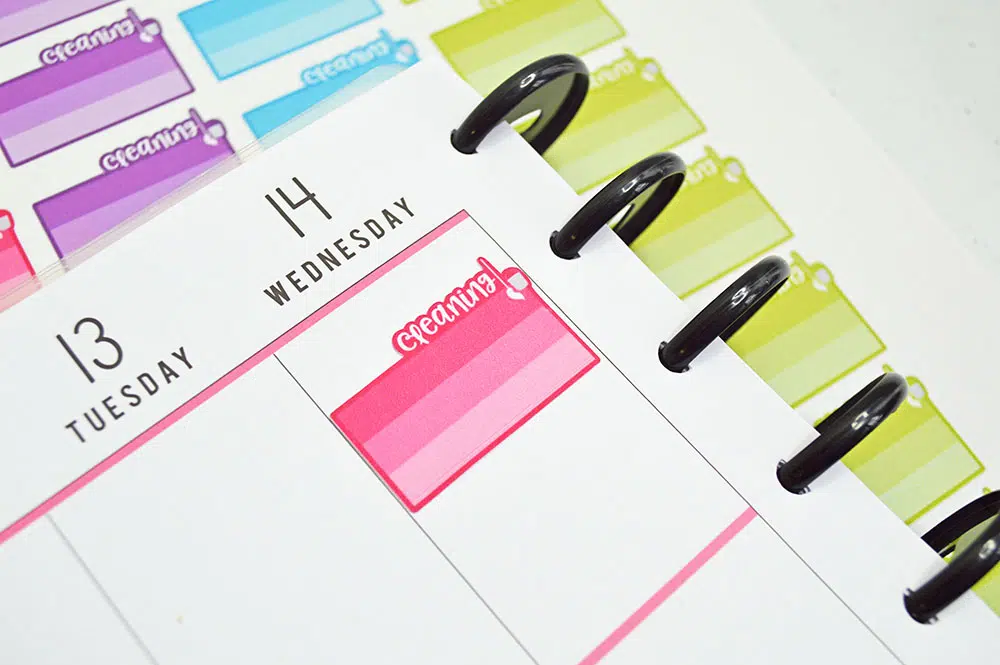
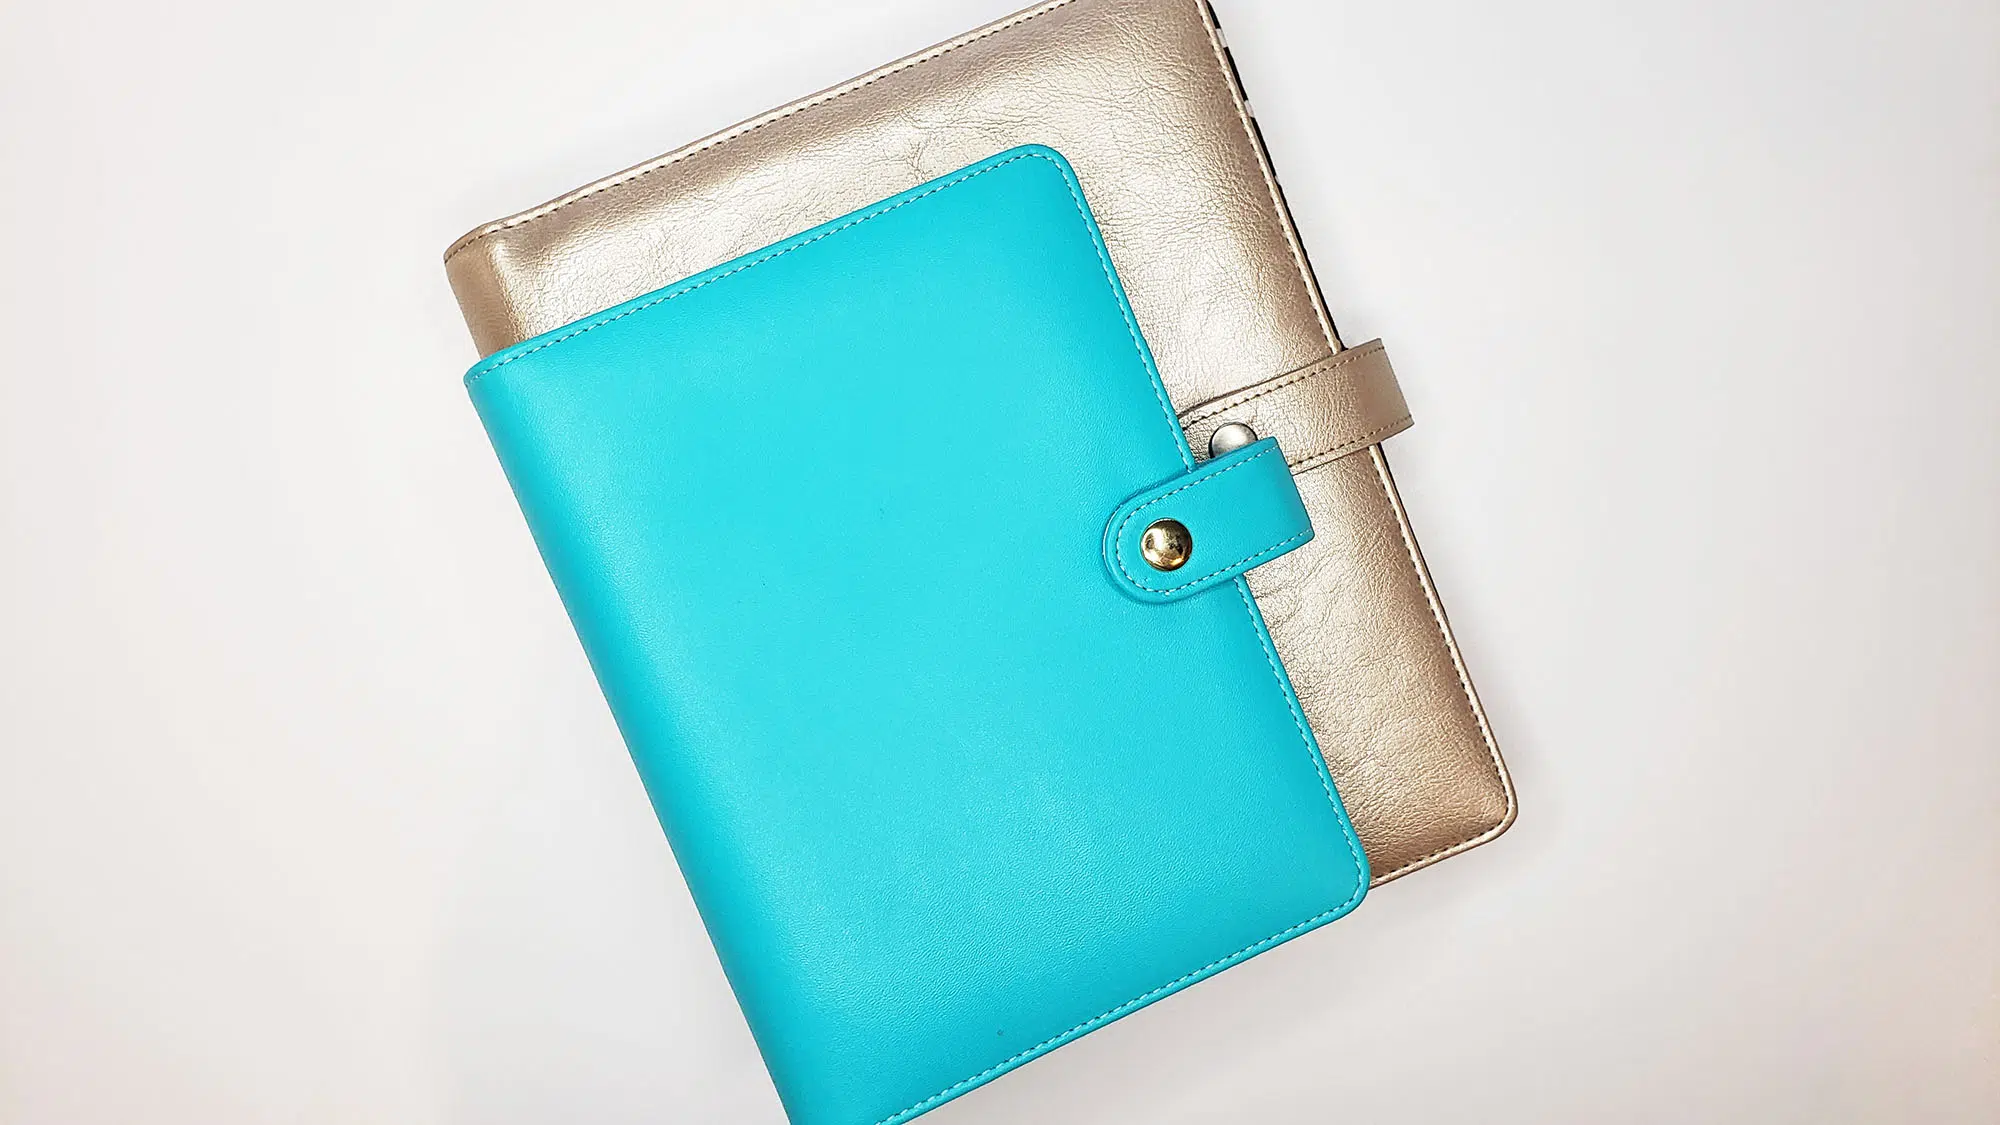
This tutorial will allow you to take printable planner stickers, either free sheets you find on Pinterest or those purchased from Etsy and set them up to be cut with your Silhouette portrait or cameo.
Here’s the video:
How to Cut Printable Planner Stickers
I hope you found this tutorial helpful! I know it definitely opened up my options a lot with printable planner stickers by learning how to do this and use them with my Silhouette. With printable stickers you only have to purchase once and you can use them over and over (for personal use, of course), so that definitely makes planning a little more budget friendly.
Here’s what you’ll need to print and cut planner stickers yourself:
Printer (this is the printer that I use, but any should work just fine as long as the print quality is good)
You can also make sure you print on the “high quality” setting to get even better looking stickers, but this does use more ink!
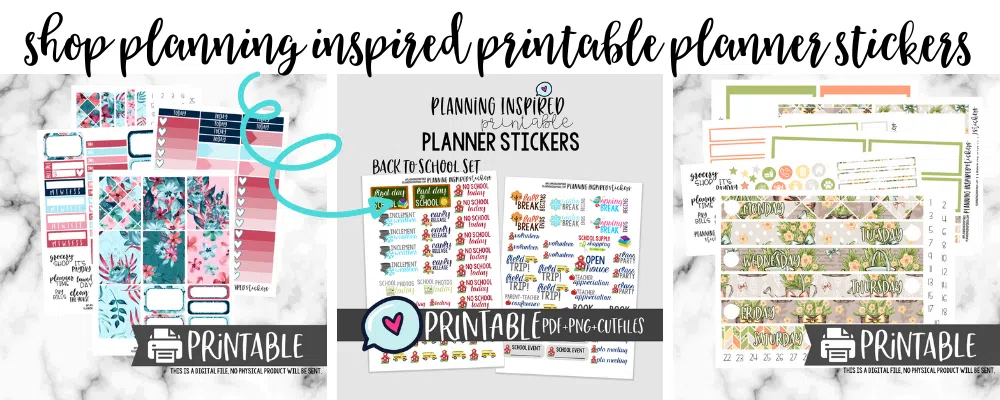
Also be sure to check out our printables shop!