How to Make a Planner in Canva
This post may contain affiliate links. See our full disclosure policy, here.
Making a planner on Canva with their design software is a super easy way to create your own custom planner. You can create a planner from scratch, or use one of the helpful Canva templates. There are even Canva templates for sale on Etsy that allow you to customize cute planner pages with your own personal touch. Whether you are creating a planner for your own personal use, or a planner to include in your digital products to sell, Canva is a great tool, just be sure and familiarize yourself with their terms and commercial license policies if you want to sell your creations.
This post contains affiliate links. See our full disclosure policy, here.

The possibilities are endless when it comes to what you can create for free using Canva, from a daily planner or weekly planner to meal planners, to-do list printables, or even a simple digital planner, you can create just about anything. Just a note, if you do plan to create a planner to sell, you may want to stick with elements that are available inside the free version of Canva, since all of your customers might not have a Canva pro account, more on that later.
You do not even need to be an expert at graphic design to create your own planner with Canva. It takes a few simple steps, and once you get past the little bit of learning curve you will be able to create any kind of planners you want for personal use or to sell as a part of your online business. To me, Canva is one of the most user friendly ways to create a planner.
Here’s a step-by-step guide on how to create a planner on Canva:
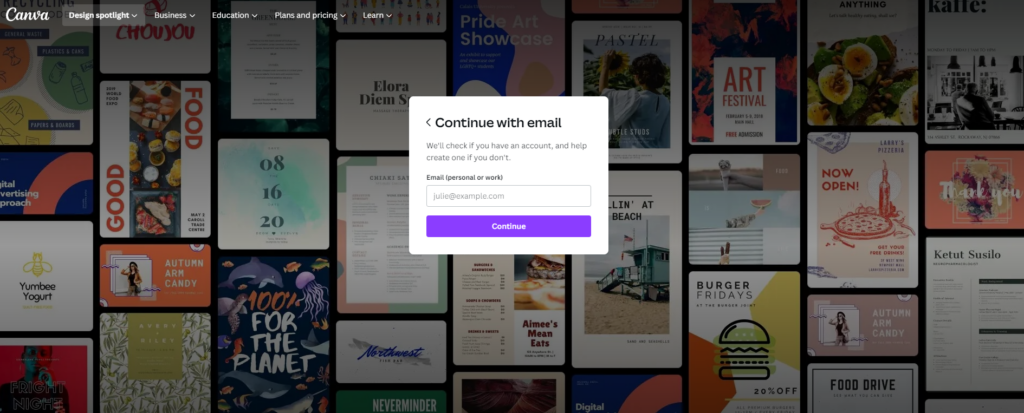
Step 1: Sign in to Canva. If you haven’t already, sign in to your Canva account. If you don’t have one, you can easily create a new account for free. You can upgrade to PRO if you’d like, but it’s totally not necessary to get started.

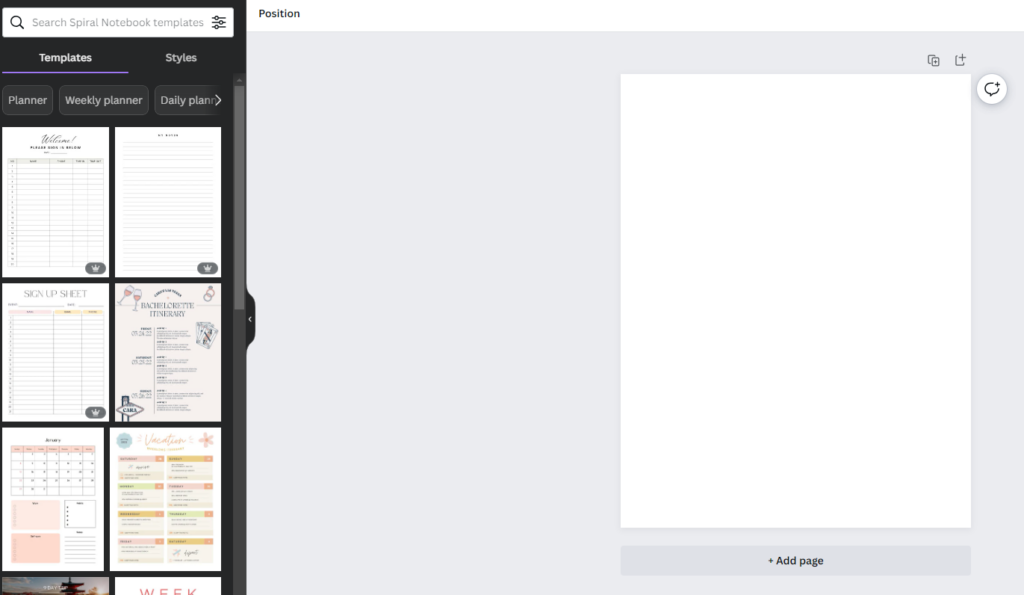
Step 2: Choose one of the Canva planner templates. Once you’re logged in, click on the “Create a design” button on the top right corner of the screen.

Canva offers a wide variety of templates, so search for “planner” in the search bar to find the perfect one for your needs.

Browse through the options until you find a template that catches your eye, or you can start with a totally blank design to build something from scratch. Just consider your planner size, for example, if you want to do a US letter size planner, your design needs to be 8 1/2 x 11 inches.

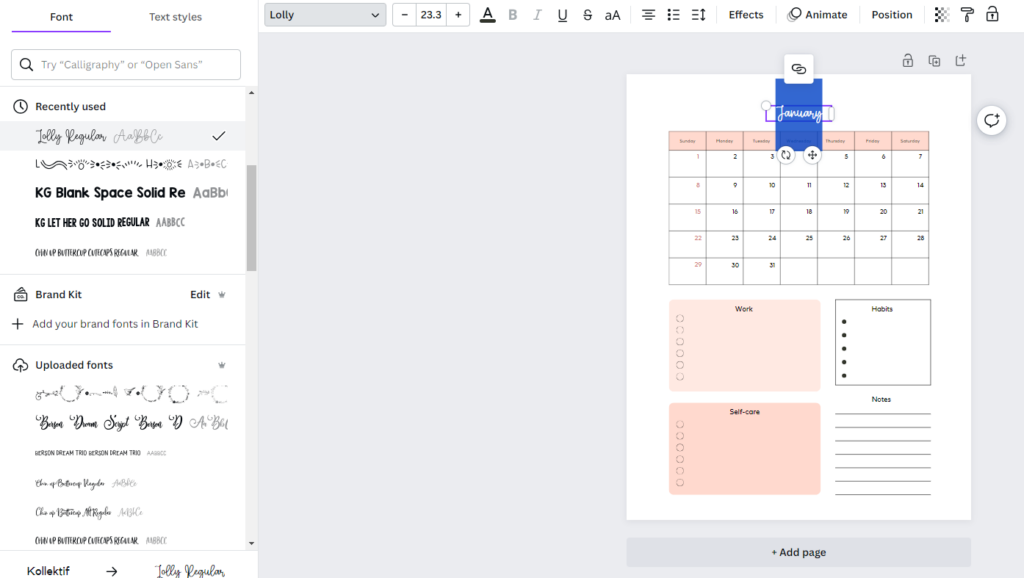
Step 3: Customize your planner. Once you’ve selected a template, it’s time to make it your own! Canva provides an intuitive and user-friendly interface. Click on any element in the template to edit or delete it. You can change the colors, fonts, add or remove sections, and personalize it to match your style and preferences. Feel free to experiment and get creative! You can do a single page printable or a planner with multiple pages.

Step 4: Add dates and sections. In a planner, dates and sections are essential. Canva makes it easy to add these elements. Simply click on the “Text” tool, choose a font that suits your style, and start typing in the dates and section titles for your planner.

You can also create separate pages or spreads for different months or weeks, depending on your planning needs.
BONUS TIP: If you want to create an “undated” planner that can be used year after year, just add the basic day or month name, like “Monday” or “January” and that way you can fill in the date/year and use your pages over and over.
Step 5: Include additional features. To make your planner more functional, you can add various features such as to-do lists, habit trackers, or inspirational quotes. Canva offers a range of elements and illustrations that you can use. Just click on the “Elements” tab and browse through the options. You can also upload your own photos to use in your planners. Drag and drop the elements onto your planner and adjust their size and position as needed. You can create boxes, lines, and more!

Step 6: Save and download your finished product. Once you’re satisfied with your planner, it’s time to save and download it. Click on the “Share” button in the top right corner of the screen and select your preferred file format, usually for printables this would be PDF (choose the higher quality PDF option). Choose a location on your computer to save the file, and voila! Your personalized planner is ready to use.

Step 7: Print and enjoy Now that you have your planner saved, you can easily print it at home or take it to a local print shop. Use high-quality paper for better durability. Once printed, you can bind the pages together using a hole punch and some rings or simply use a binder or folder to keep everything organized.
And there you have it! A personalized planner created with love on Canva. Enjoy staying organized, being productive, and adding a touch of creativity to your planning journey. Happy planning!
Tips:
- Make sure to create folders inside of Canva to organize your different canva designs.
- Upgrade to the paid version of Canva for even more premium elements and premium fonts to use in your designs. It is a low monthly fee to upgrade.
FAQs
Can I make a digital planner on Canva?
I don’t recommend creating a complex digital planner on Canva at this time, I have heard of a lot of people having trouble with Canva having a max # of pages or their planners turning out too large, etc… you could create a simple digital planner, such as my digital fitness journal, though. It only has a few hyperlinks and it would be easy to create something like this in Canva. You can also find digital planner template options on Etsy, as well to get you started if you want to try it. But, I will be sharing my recommended methods for making more detailed digital planners, soon.
Do you have a full step-by-step tutorial on how to create your own printable planner with Canva?
I do not- I recommend Gold City Ventures if you want step by step instructions, video tutorials, templates, a facebook group, and more on making your own planners, and they teach methods of creating them with Canva as well as Adobe Illustrator. Plus, if you are looking to sell planners as a digital product, they teach that, as well. They have a free workshop on selling printables if you are interested to see what they are all about.

Coming soon I’ll have my review for Planify Pro, another great way to create planners.
