How to Print and Cut Labels for Your Planner Tab Dividers
This post may contain affiliate links. See our full disclosure policy, here.
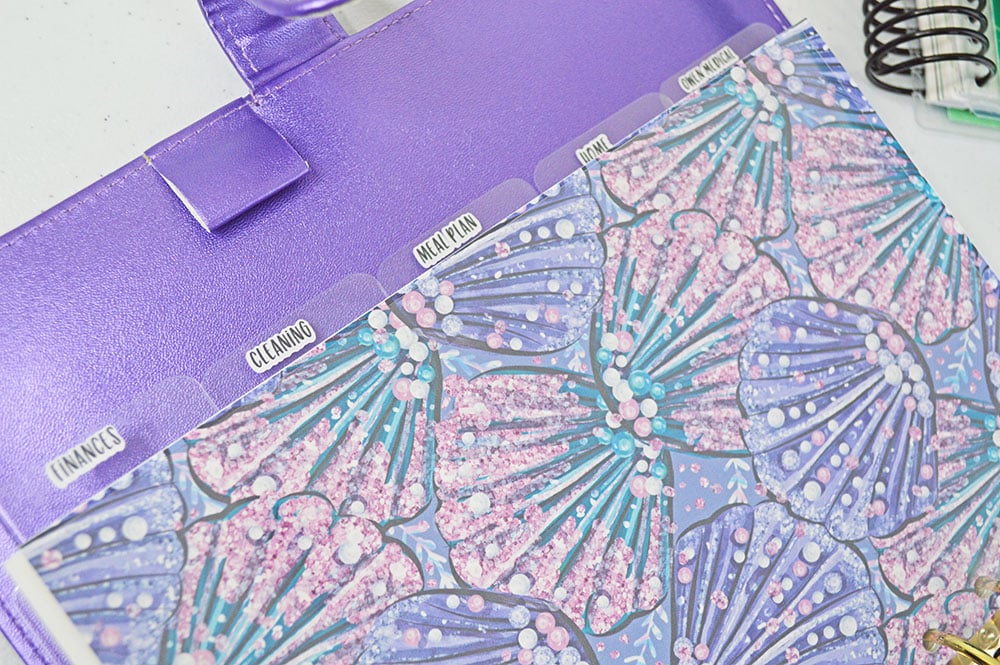
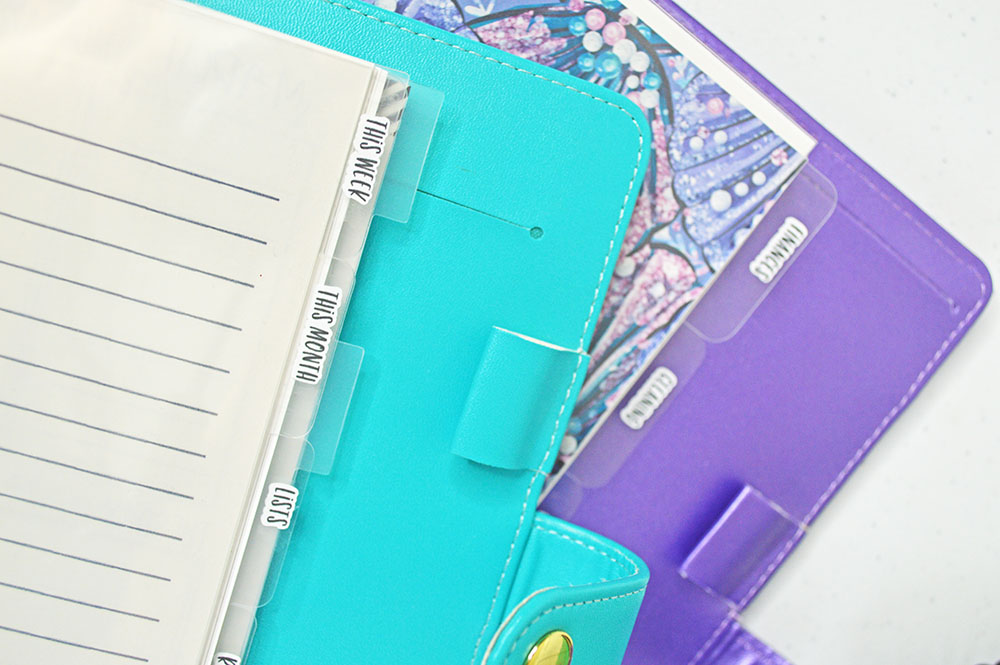
In today’s tutorial I’m showing how I print and cut labels for my new clear tab dividers. If you missed that post & video on how to make those, be sure to check it out! When you’re done, come back here to see how to make your own labels for your planner tab dividers.
This post contains affiliate links, but I only recommend things I use and love, that I hope you will, too!
I have really been obsessed with making things for my planner, and of course I have all of my tutorials that I’ve done over on my Youtube channel if you want to check those out. Be sure to subscribe so you don’t miss anything.

I find that thicker fonts work best for this. I get all of my favorite fonts from The Hungry JPEG. That’s actually why I re-did my labels, to get a thicker font to use for these. It looks so much better.
If you are new to using the Silhouette but want to get started, you can grab the starter kit for the Silhouette Portrait (less expensive than the Cameo, does the same things). I also just used my Online Labels sticker paper to make these, which you can grab on Amazon.

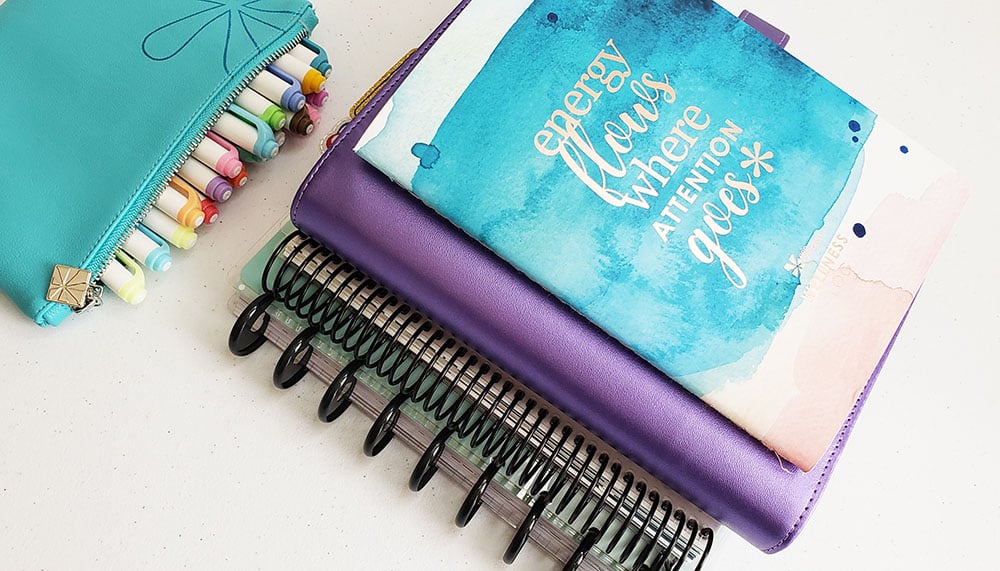
I just love how they turned out, and of course this cute hand drawn girl is from Miss Moss on Etsy.
Here’s the full video on how to make these labels-