How to Make Planner Dividers With Your Silhouette
This post may contain affiliate links. See our full disclosure policy, here.
Hey guys! It is fun tutorial time! Today I am sharing how to make planner dividers! I cut mine with my silhouette so they come out perfectly, and I’m gonna show you how! Plus, I have the silhouette templates I use to cut them for you to download!
Looking for a tutorial to make planner dividers by hand? I have one here!
Okay, so to start. There are two ways that I make dividers, depending on what I’m using. I either use pretty cardstock or scrapbook paper from Michaels or somewhere similar, or I print my own digital scrapbook paper. First I’ll explain how I use cardstock or thick scrapbook paper.
Just a note: I use half letter size (5.5 x 8.5 inches) instead of traditional A5, it is slightly different, but will still work perfectly in your planner!
This method is easy, peasy. If you are using a Cameo, you can just put the 12×12 paper right onto your mat. If you have a portrait, you’ll need to trim it down to 8.5 x 11 inches. Then, you’ll feed your paper in and use these templates to cut the dividers! If you have a Cameo, remember to adjust your mat size in the software! There are no registration marks on these, you don’t need them. Just adjust your cut settings – I’ve found the pre-set cardstock setting works great!
To get these templates, sign up for my email list below-

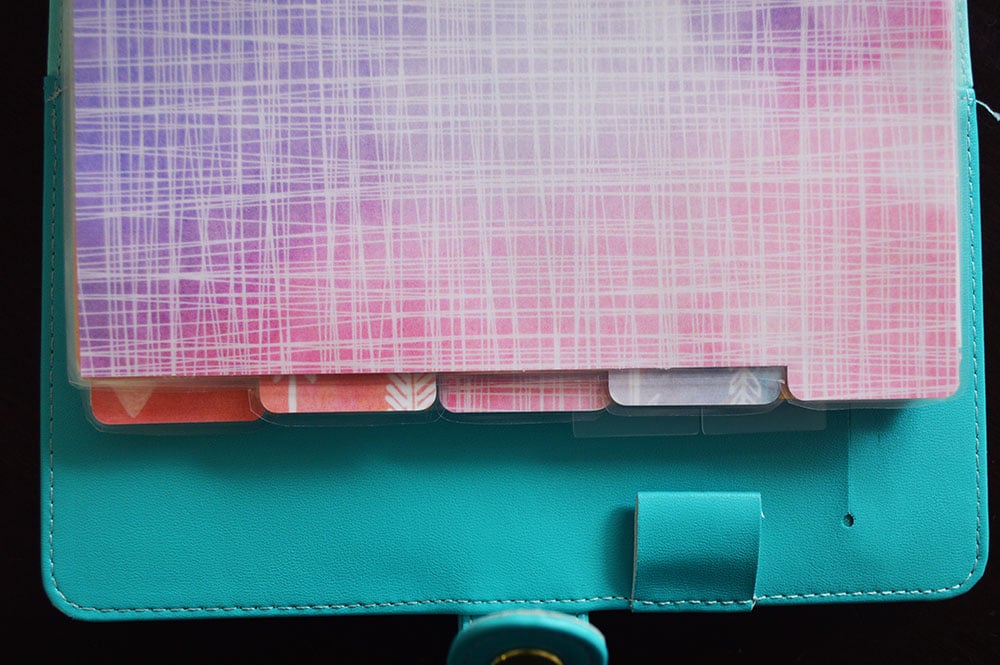
Now, you can laminate these, or not. I find that sometimes with a good thick paper it isn’t necessary. Then, just punch them and pop them into your planner. For personal and A5 planners, I recommend this hole punch!
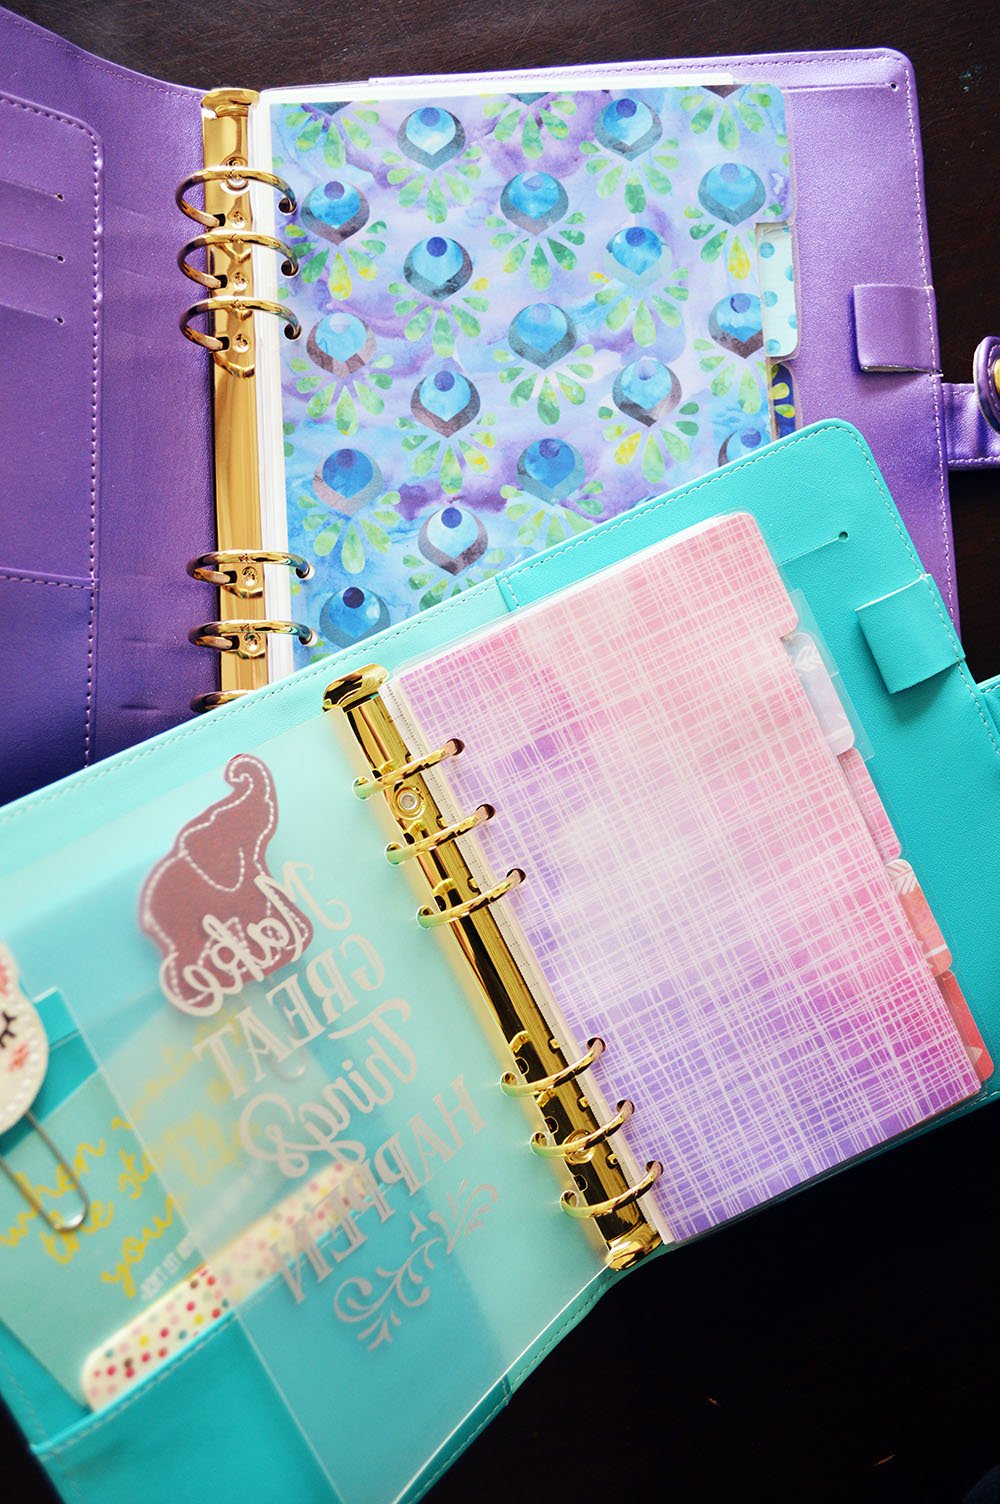
Okay, next is the fun part. I often use digital scrapbook paper to create my dividers because I can take any design that I find and love to make dividers!
Here are a few of my favorite digital scrapbook paper shops to purchase from-
and this is the paper I recommend printing with.
Okay, so I have changed the templates up a little for this version- there are registration marks, so if you use a Cameo you’ll need to adjust your mat size and your registration marks. For cut settings with this method, I would try one of the preset paper options closest to the type you are using.
To get these templates, sign up for my email list below-
Now, to explain how to use this method, I filmed a short tutorial here-

There you have it! Easy peasy and you have endless options for beautiful planner dividers! Once you have them printed and cut I recommend laminating with this version!
I also have planner inserts and stickers in my shop as well if you need any of those!

Okay guys, I hope that this tutorial was super helpful and if you have any questions at all, you can leave a comment below and I will try to answer them asap!
Thank you for visiting!