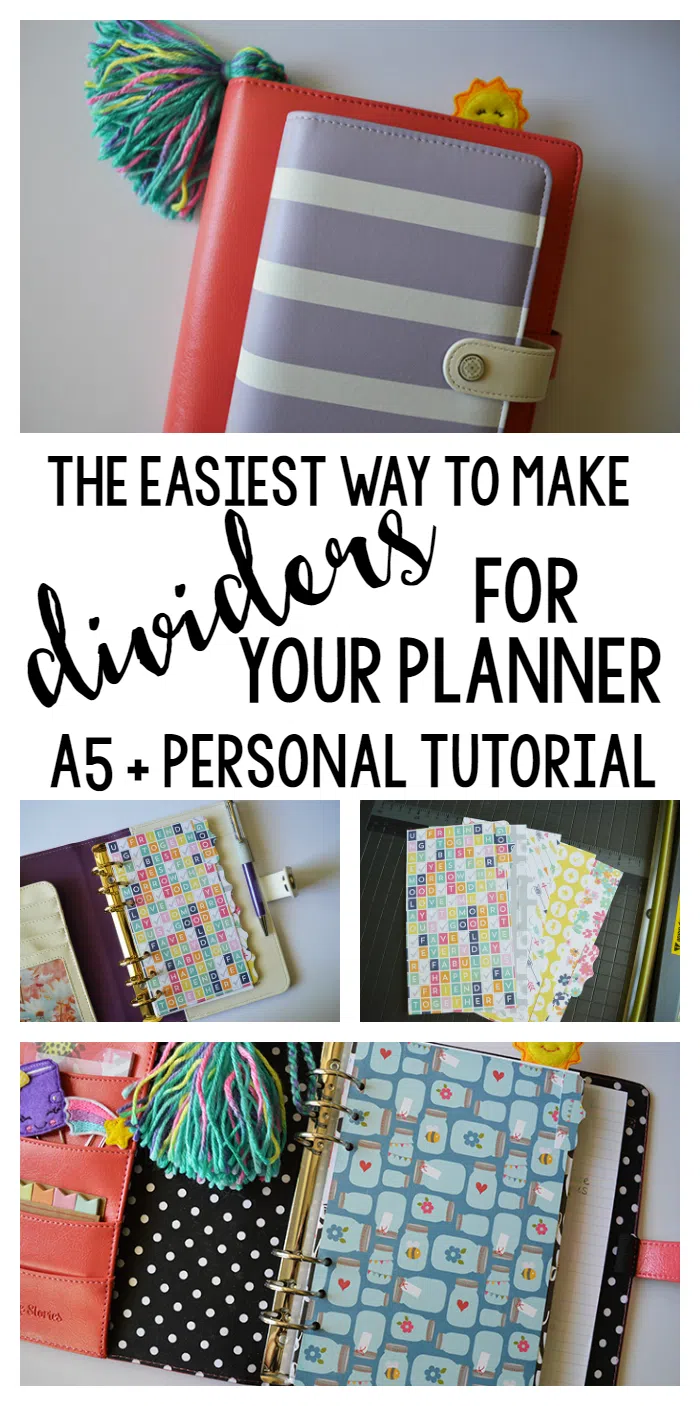
The Easiest Way to Make Planner Dividers for A5 or Personal Size
This post contains affiliate links- if you click through my link and make a purchase I will receive a very small commission (at no extra cost to you what-so-ever). This helps me cover the costs of keeping this blog going and as always I never recommend anything that I don’t use and love myself.
Hey guys! I’m here today with a fun and easy tutorial to make dividers for your planner! This works for A5 or personal planners- I’m making new dividers for both sizes today! This tutorial is pretty hands on, I’m using scrapbook paper, a paper cutter, and some other basic crafting supplies. If you’d like to learn how to create dividers with your Silhouette portrait or cameo, I have a full tutorial, plus cut files for that, here.
Okay, so here are some supplies you will need-
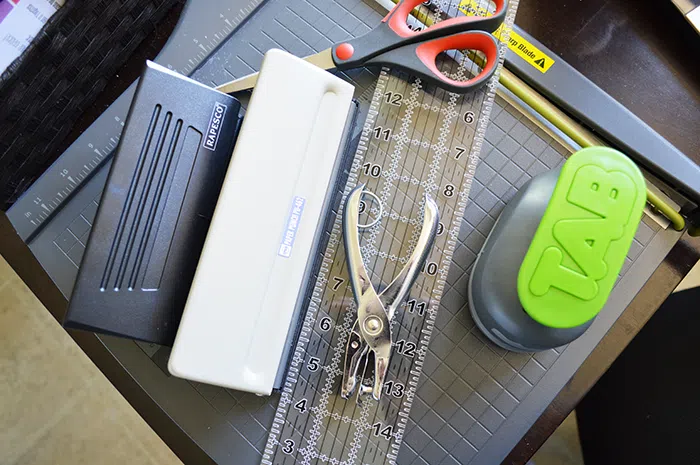
A5 Hole Punch
Personal Hole Punch
OR a single hole punch 😉
Ruler (if there’s not one on your paper cutter)
Paper Cutter
Tab Punch
Scissors (just in case)
Adhesive Roller (or double sided tape.. some way to attach your tabs!)
Scrapbook paper!
Optional-
Laminator
Laminating Sheets

I’m working with this Fine and Dandy scrapbook kit

and this Creative Agenda kit
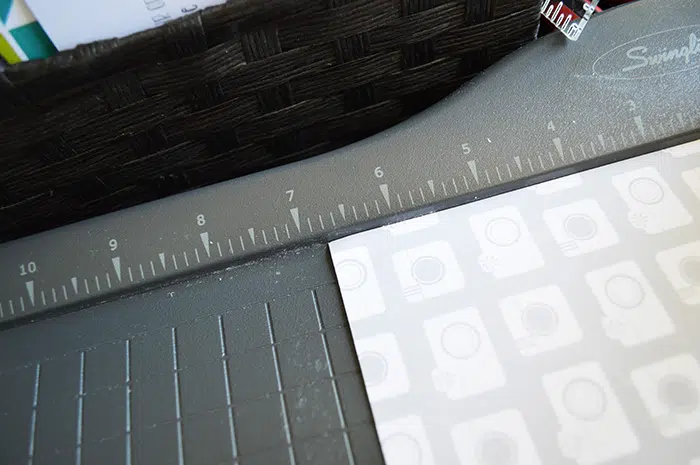
Okay, so I pick my papers and get to measuring! For personal size dividers I want them to be 6.75 x 3.75 inches and for A5 8.5 x 5.5 inches.
My paper cutter makes this so easy with the ruler guides right along the side.
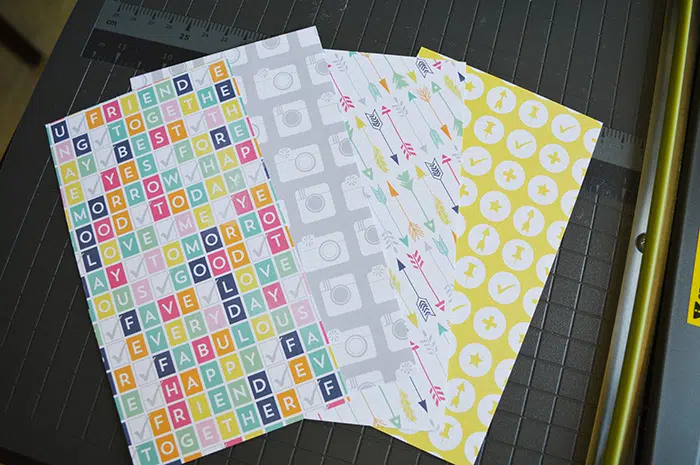
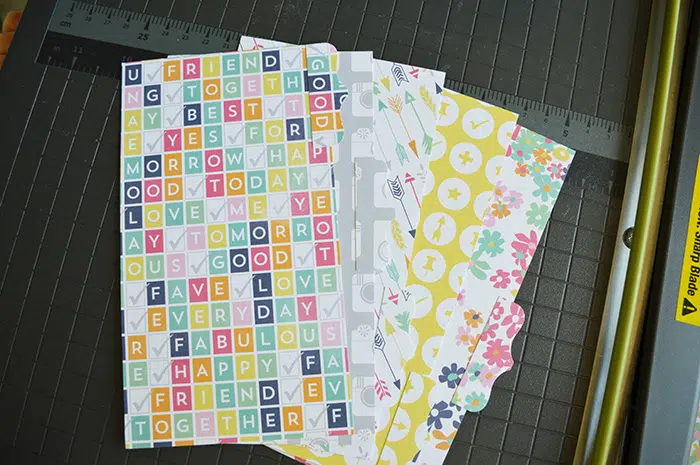
Okay, so I’ve got my dividers- now I need to make the tabs! (If you want to make dashboards, you can stop here without tabs & skip to hole punching!)
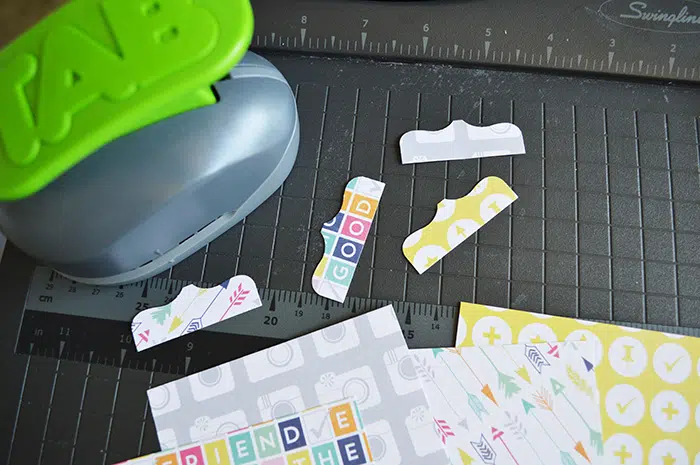
Next I grab my TAB punch– you can get these in many different styles for whatever type of tabs you like, but this is the one I have.
TIP: These tabs will be so long that they won’t fit evenly along the side of my dividers- I can get 3 for the personal size and 4 for A5 before I don’t have room for another. I just line the next one up at the bottom of that divider and work my way back up. If this bothers you, you can always trim your tabs down… take your measurement (6.75 for personal or 8.5 for A5) and divide it by the number of tabs you want and that’s how wide you want them to be. This doesn’t really bother me so I am going to carry on!
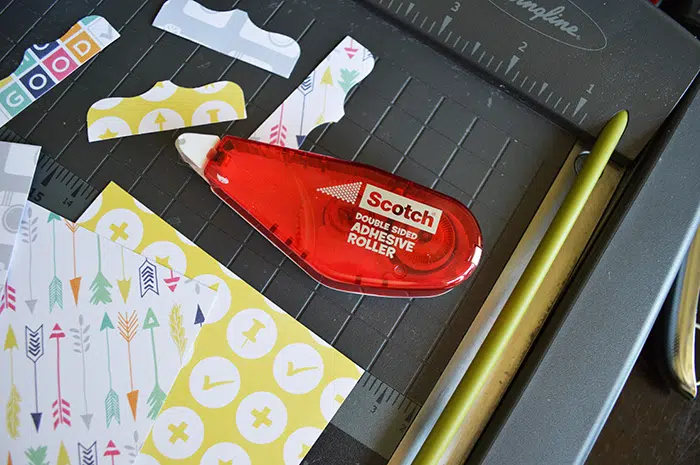
To attach your tabs you can use double sided scotch tape, decorative washi, whatever works or strikes your fancy! I’m using this double sided adhesive roller.
And they’re ready to be punched and popped into my Color Crush planner! I use the Rapesco punch for personal size.
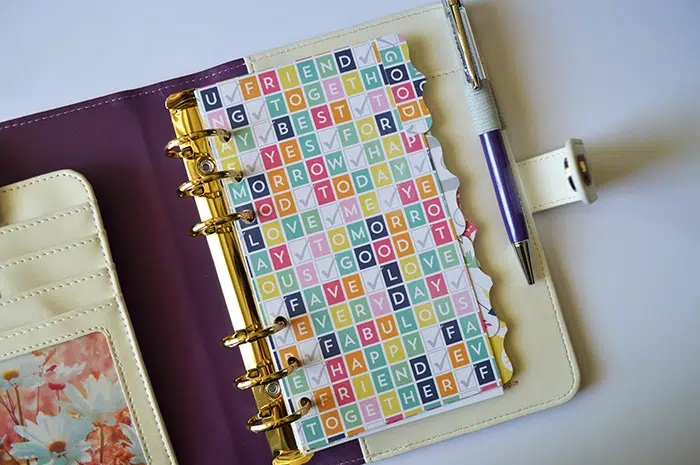
Now, you can absolutely laminate these… this method is so simple that I don’t worry a whole lot about laminating them, but this paper is so cute that I just might. If you are a little more rough on your planner I recommend laminating them.
Next, I need some new dividers for my A5 Carpe Diem
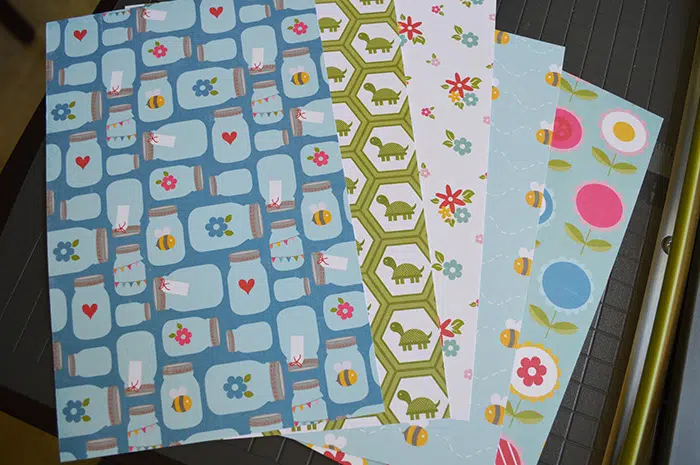
I picked out my papers and cut them to size (5.5 x 8.5 inches)
This is actually half letter size which differs just slightly from traditional A5, but my inserts are half letter so I use these measurements for mine. If you are using actual A5 size, you can always make your dividers that size.
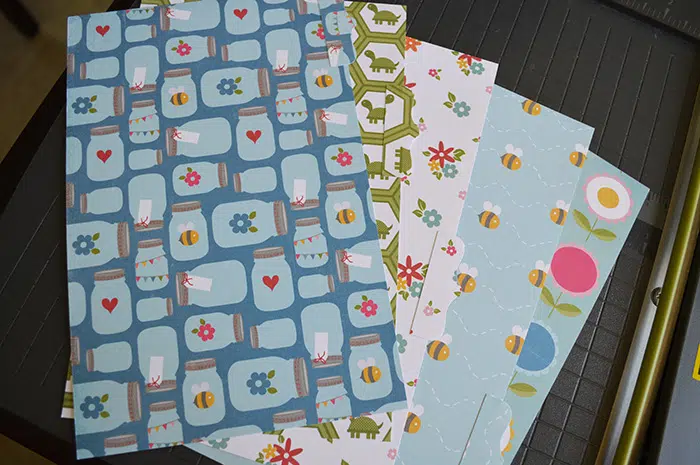
I cut out my tabs and attached those on.

And they are ready to go!
I will likely laminate these in the next day or so. Here is a set of A5 dividers I made with that Creative Agenda paper that you can see are laminated. I use this laminator to do mine and then I just cut around the edge of the lamination as close as possible without getting too close and messing it up. If you cut too close the lamination will split. Then, I use a single hole punch to re-punch my holes.
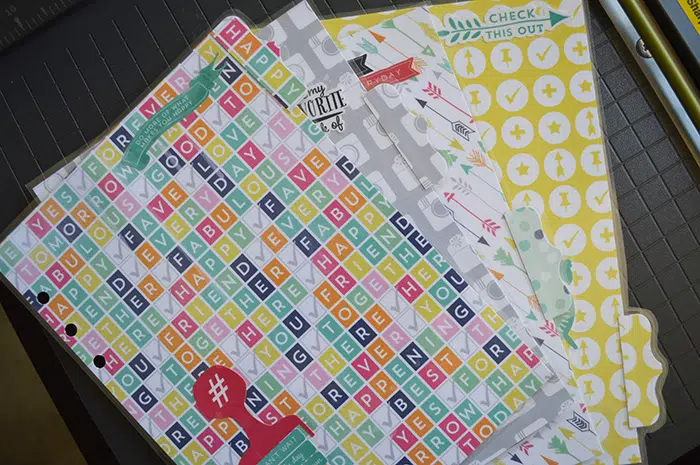
and voila! There you have it. Now, the possibilities are endless! I love these smaller scrapbooking kits you can get that have about 12 papers included and some stickers. They’re cute and perfect for this. You can find them at Michaels, Hobby Lobby of course, and even Amazon!
If you are in need of planner inserts or stickers, make sure you stop by my shop!
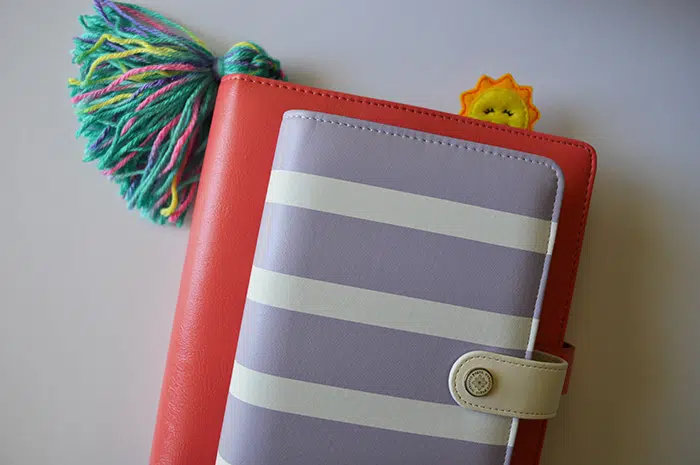
Happy Planning!

