
How to Print And Cut Planner Stickers
This post may contain affiliate links. See our full disclosure policy, here.
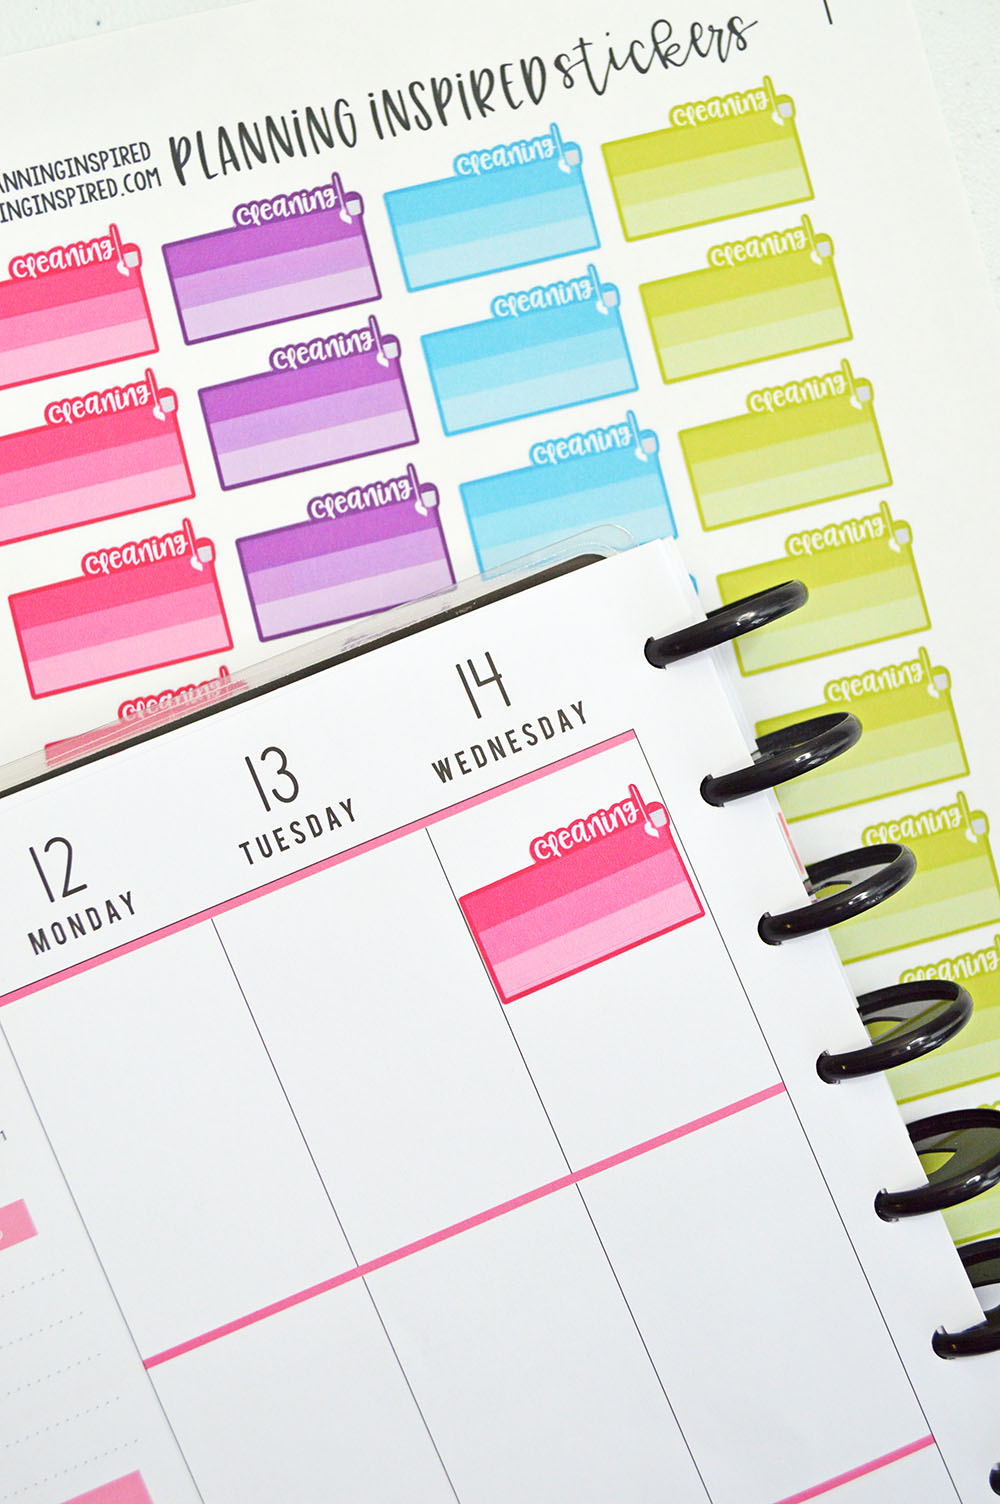
Hey planner friends! I wanted to do this post today for anyone who is NEW to the world of printing and cutting your own planner stickers, whether you bought a digital file from an Etsy shop, or you created your own stickers, and you want to know how to print and cut planner stickers with a Silhouette machine.
This post contains affiliate links. See our full disclosure policy, here.
Now, if you are looking for more information on designing with Silhouette studio to make your own completely customized stickers, I have a few tutorials over on my Youtube channel.
Habit Tracker Sidebar Tutorial
Simple Label Stickers Tutorial
Keep in mind, these video tutorials are a little older and with each new update of the Silhouette Studio software, the layout of the design area can change, but the basic functions are all the same. They may just look a little different on your screen, depending on what version you are working with.
Okay, so let’s move on, assuming you’ve got a sticker sheet designed, or you have purchased a digital DIY sticker sheet from someone on Etsy, and you want to print and cut it yourself.
You can also check out this video tutorial here, too.

Okay, so here’s how to get your stickers printed and cut.
- Download & open your sticker files in silhouette studio. Make sure to open the .studio3 file included if you purchased your printable stickers.
- Double check your mat size (see video tutorial), and be sure it is set for either portrait or cameo, whichever machine you are working with.
- Double check that registration marks are turned ON.
- Print your sticker sheet via your printer. I recommend this sticker paper if you are looking for what type you should use. I also have a handy post here on the best sticker paper for planner stickers.
- Stick your sticker sheet onto your mat, making sure it is lined up properly, then load the mat into your silhouette machine.
- Go to the “SEND” tab, and set your settings to “Sticker Paper White”
- Make sure blade in the machine is set to the same number as the settings in the Silhouette Studio area
- Select “Send” to have the machine cut your stickers.
I talk more about this in the video, too, but each machine is different and can have a mind of its own. You may have to play with the blade, speed, etc… until you find the perfect settings for your machine. I recommend writing those down once you do find them. I do have a lot of luck with the “Sticker Paper White” setting using that paper I recommended above.
There you have it, I hope this is helpful for those of you who are new to printing and cutting planner stickers for yourself. Next, go and check out my full guide to printable planner stickers, including how to use them, resources on where to find them, and more. If you have any questions, leave them in the comments below!
Sign up for our Email Newsletter to get access to our library of free printable stickers.

Then, check out these free printables-


One Comment