Setting Up an A5 Size Planner
This post may contain affiliate links. See our full disclosure policy, here.
I’m back today with more tips for you on setting up an A5 size planner. We also talked about how to set up a personal size planner, but I know a lot of us enjoy more space to write and a larger planner to work with, which is where the A5 size is perfect. I get a lot of questions about getting started with setting up a ring-bound planner, so I thought it would be nice to do these posts and share with you guys my tips for getting set up and where you can find supplies for different price ranges, whether you are looking for a luxury planner, or you are a planner girl on a budget, like me. 😉
This post contains affiliate links. I do earn a small commission if you purchase through these links, but this comes at no extra cost to you.
Setting Up An A5 Size Planner

The Binder
The first thing you will need to start setting up your planner is your binder. There are ring-bound planners (binders) that range from $30 to $150, just depending on your price range and how much you want to spend. You can keep it economical, or invest in a nice binder since it can be reused year after year with new inserts. For $30 you can get a binder like the ones shown in this post. They are not leather, but they’re less expensive and they do get the job done. I use them frequently. These are the Carpe Diem planners from Simple Stories.
For a mid-range priced binder, you can pick up some of the Filofax planners. Filofax planners vary in price, some are less expensive, and some, that are made of leather, are more expensive. For a mid-range planner, I have used the Filofax Saffiano, which I believe is imitation leather or some other material. When shopping with Filofax for an A5 size planner, you’ll use the A5 Organizer with half size or half letter size inserts. For a luxurious planner (made with leather), the Filofax Malden is very popular. Finally, Foxy Fix has some really beautiful, handmade leather planners.
I also have a post on the best ring bound planners, if you are interested in all of my suggestions.
There are a few perks to setting up a ring-bound planner, and for me, the biggest is the ability to completely customize your planner. You can create different sections, keep just what you need in your planner at one time, and have a variety of inserts to help you stay organized. Some categories that I typically go with in my planner are weekly inserts, monthly inserts, budgeting, meal planning, household things (including cleaning), etc… I’ve even recently incorporated a section for my son’s health and keeping track of him and his doctors and medical bills, too.

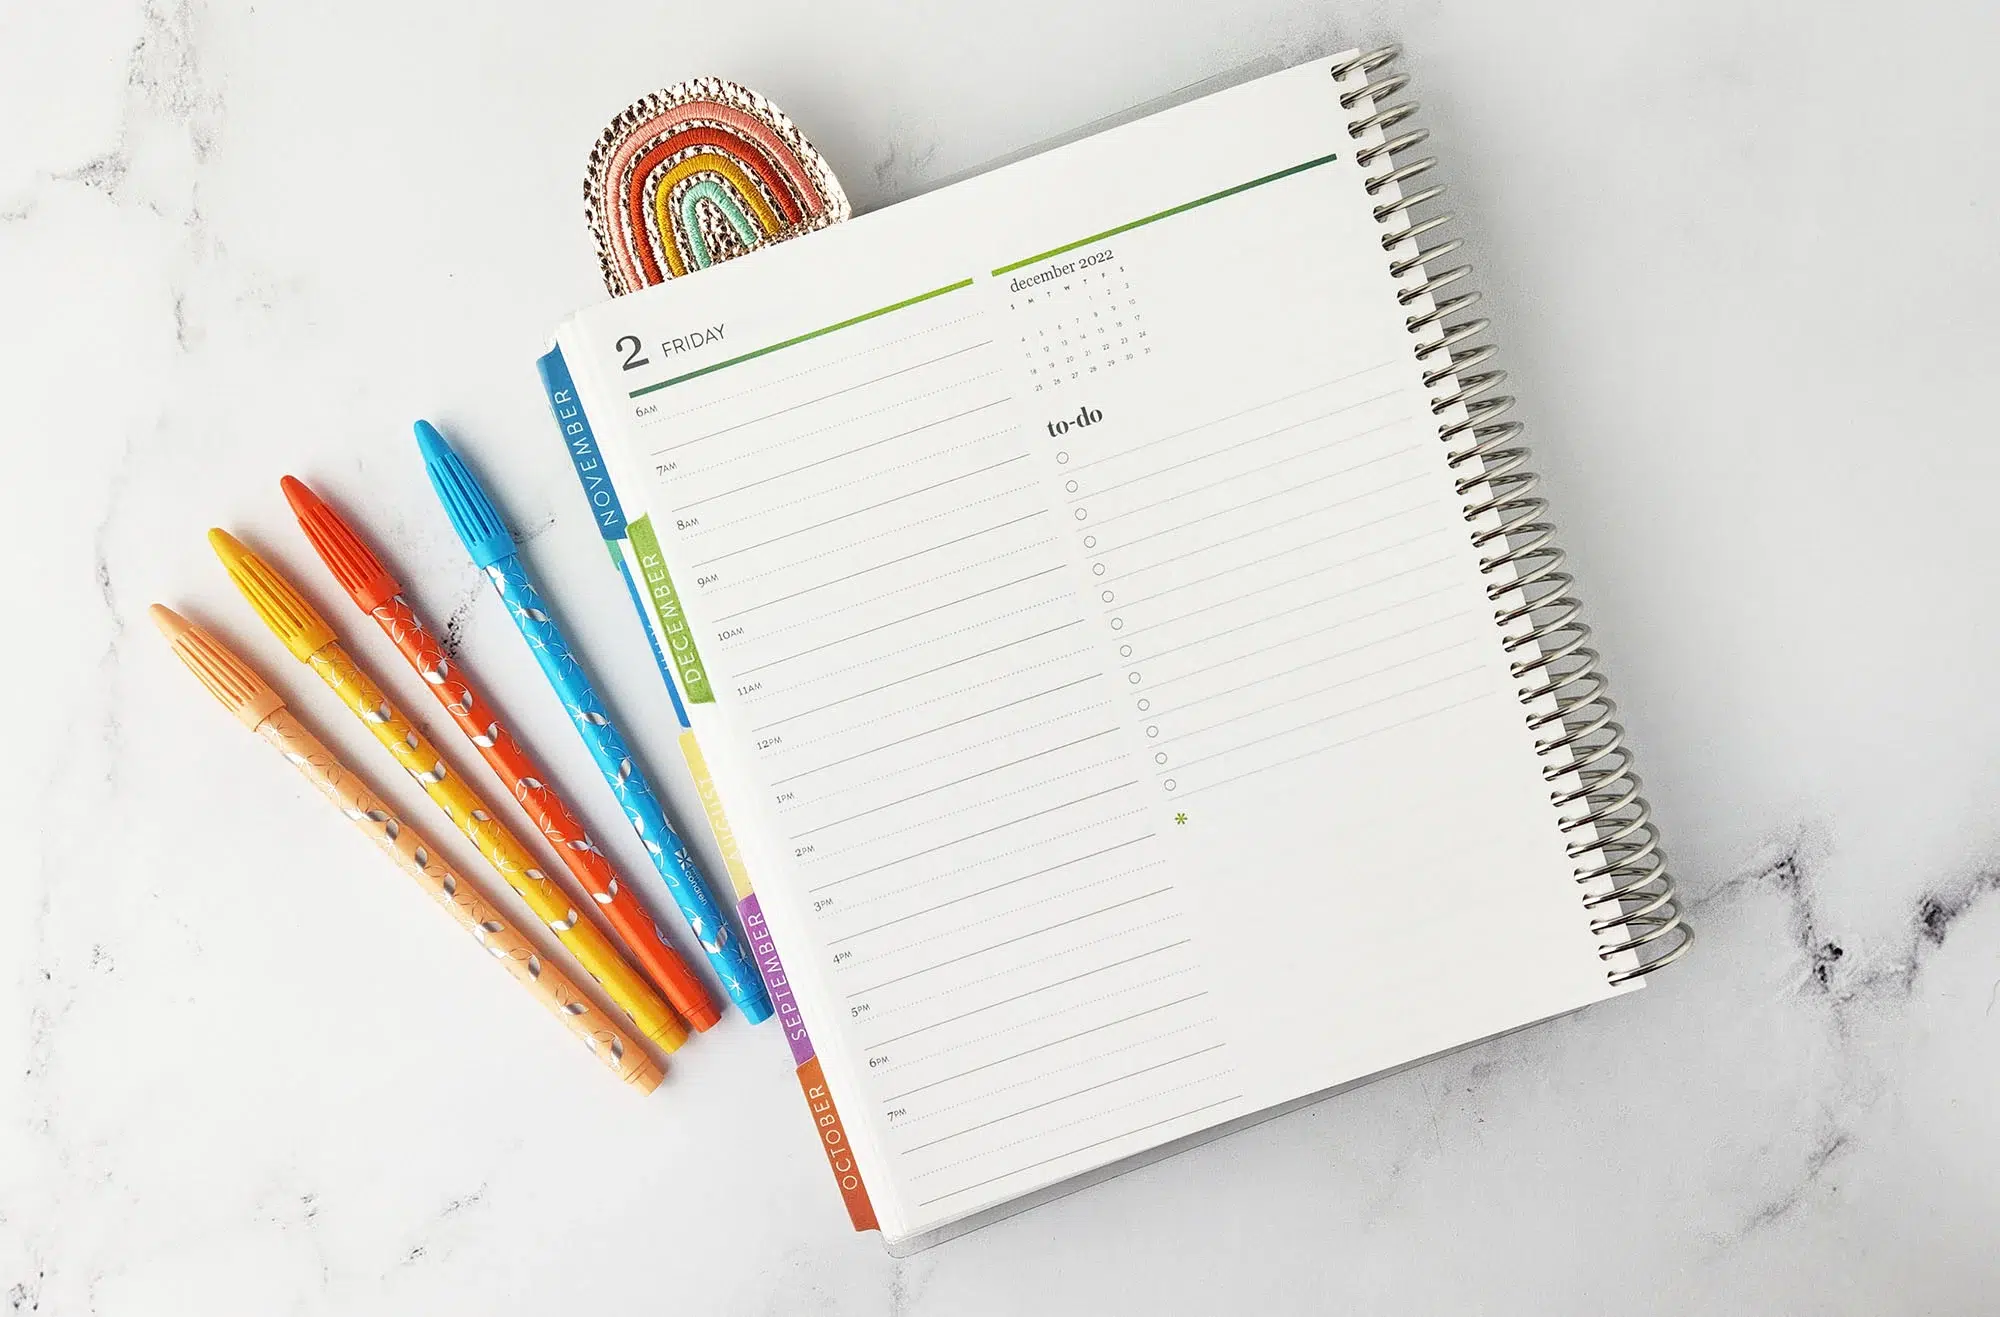
INSERTS
Most planners come with some inserts already in them, but the paper quality is usually not the best. I do recommend purchasing some inserts or printing your own for your planner.

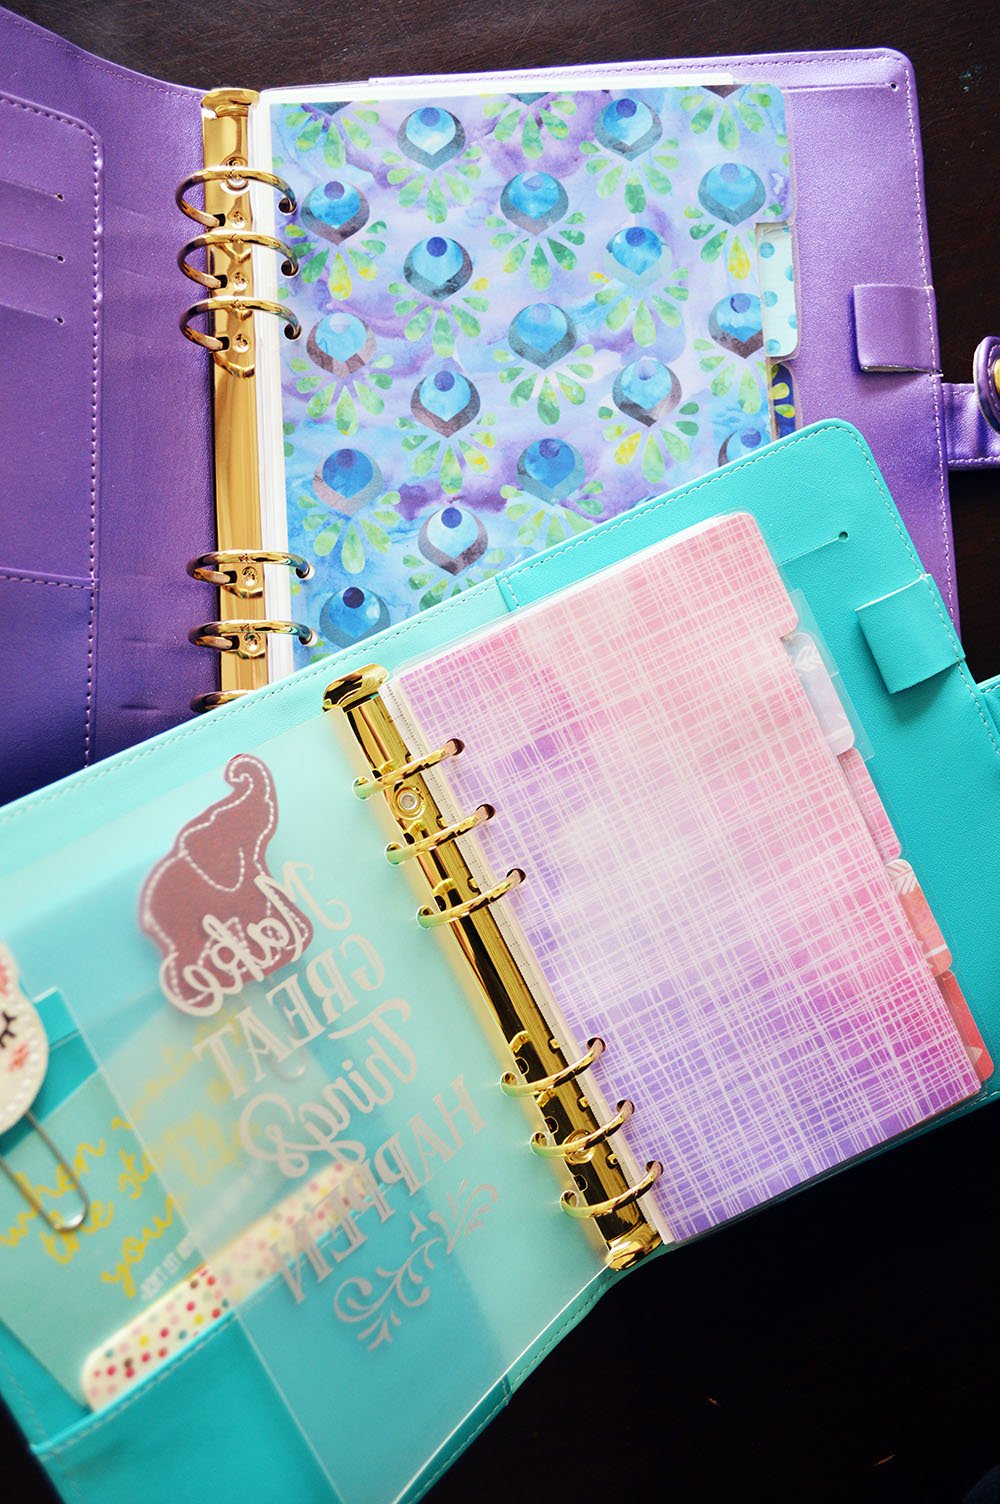
DIVIDERS
Next I recommend making or purchasing some dividers, that way you can create sections in your planner. I love my new clear dividers that I DIY’d. We might be listing these in the shop soon, but in case you want to make your own, I do have a video tutorial for that, here. All you need is a laminator, laminating sleeves, and a silhouette machine to cut them. I even included the templates for you, which you can grab here. There are also a lot of sellers on Etsy who have beautiful dividers you can purchase. I recommend getting some that are laminated, just so that they’ll last longer.
OTHER SUPPLIES
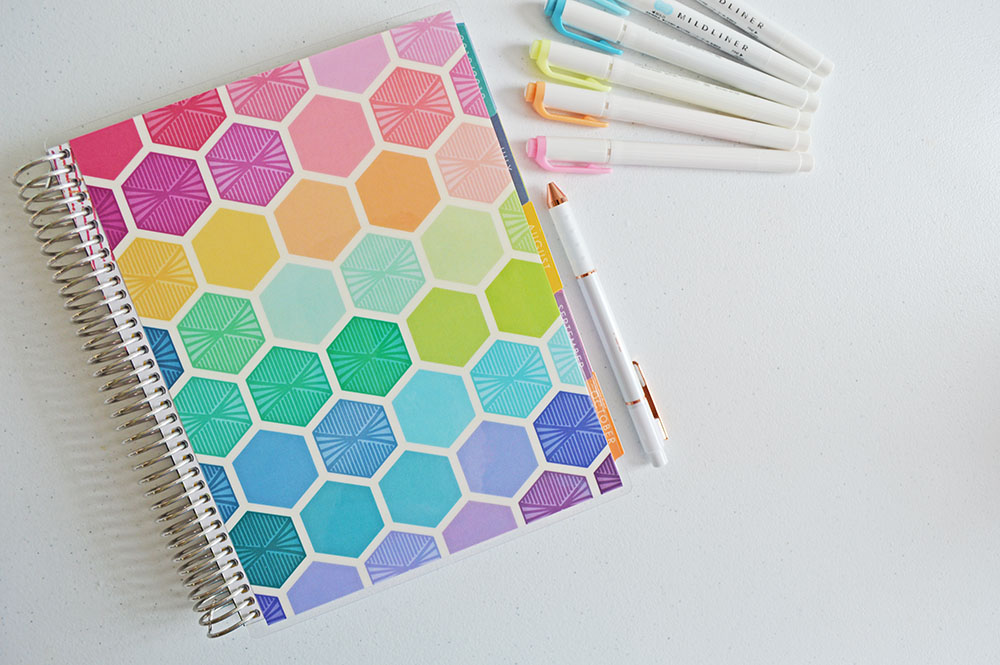
Now, once you have inserts and dividers, your planner is pretty much set up. However, there are a lot of fun accessories you can get for your planner, too. You can dress it up with planner charms, fun embroidered paper clips, like those shown on my planner, and more. For clips, I highly recommend Lady Bug on a Pug on Etsy. You can see other planner clips on Etsy, here, too.
PLANNER STICKERS
Another common question is- what size planner stickers do I use with my inserts? One thing to look for when you are purchasing inserts for your planner is if they are compatible with Erin Condren sized planner stickers. You can get Erin Condren planner stickers on Etsy to decorate your planner and plan creatively. We have lots of cute options in our shop! Of course, smaller sized stickers will all work with our inserts. If you have any questions about the sizes of our inserts or what stickers will work, don’t hesitate to reach out to me over on Etsy.
I love using my half size planner for things at home, such as my cleaning routine printables, work schedule, goals, medical information, and more. It is a bit larger and less portable, so if you are looking for a planner on the go, you may prefer a personal size planner. Not sure how to pick? Check out my post on A5 vs personal size planners.
That is basically all that you will need for setting up an A5 size planner. Anyone reading who uses an A5, what supplies do you consider to be must-have? Let us know in the comments!
Be sure and sign up for my email newsletter so you never miss a post!

Looking for other customizable planner options? Check out this post on the best planners you can add pages to!