How To Organize Your Planner
This post may contain affiliate links. See our full disclosure policy, here.
There are many different ways to organize your planner. The most effective way to figure out how to make your paper planner work for you is to get into the planner and try different things, and some of these tips work great for a digital planner, as well. If you are using a weekly planner with weekly spreads, each week is a fresh start to try new things, but I’ve got a few ideas for you to try and implement into your planning.
This post contains affiliate links. See our full disclosure policy, here.
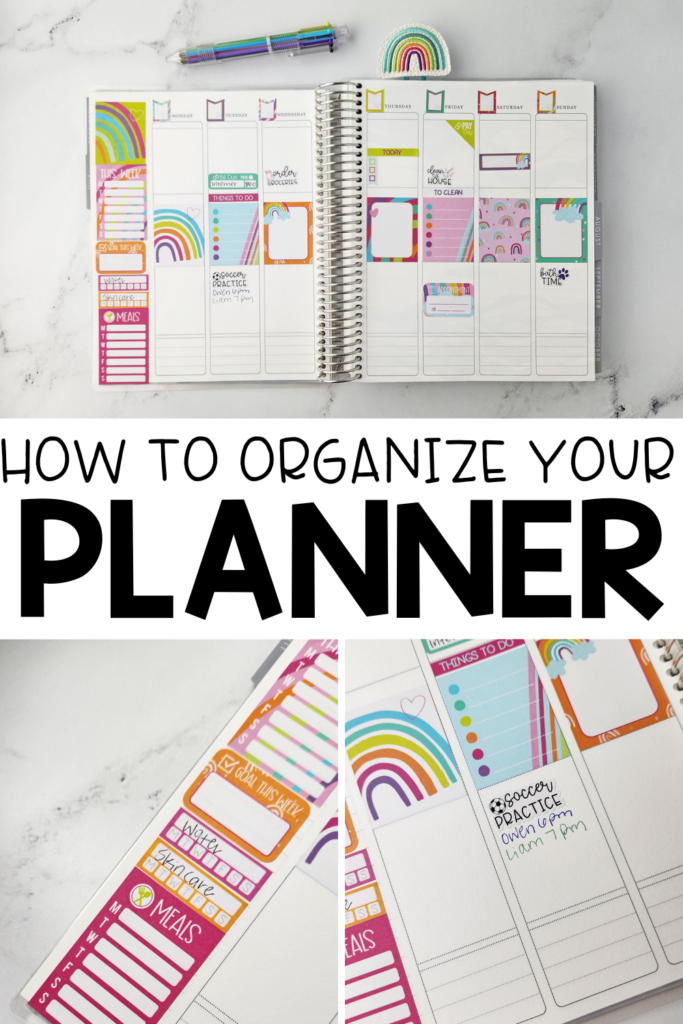
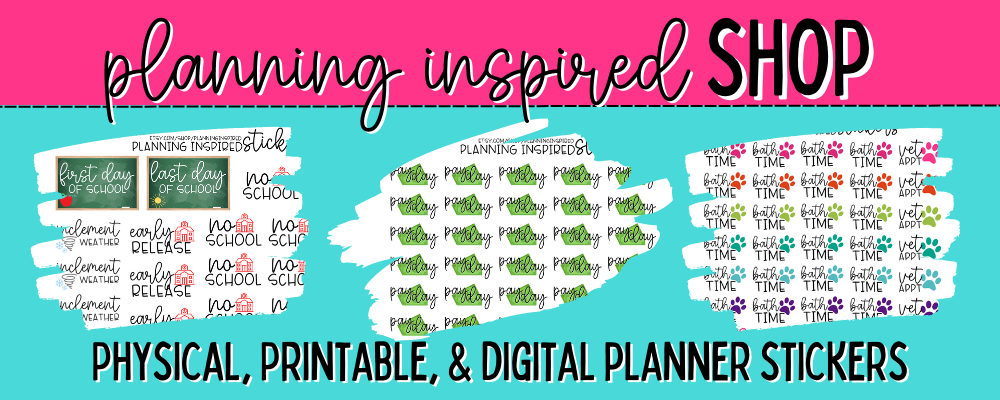
The stickers shown in this post are from-
- Rainbow Kit – Planner Envy subscription
- Functional Stickers – Planning Inspired shop
Choosing a Planner
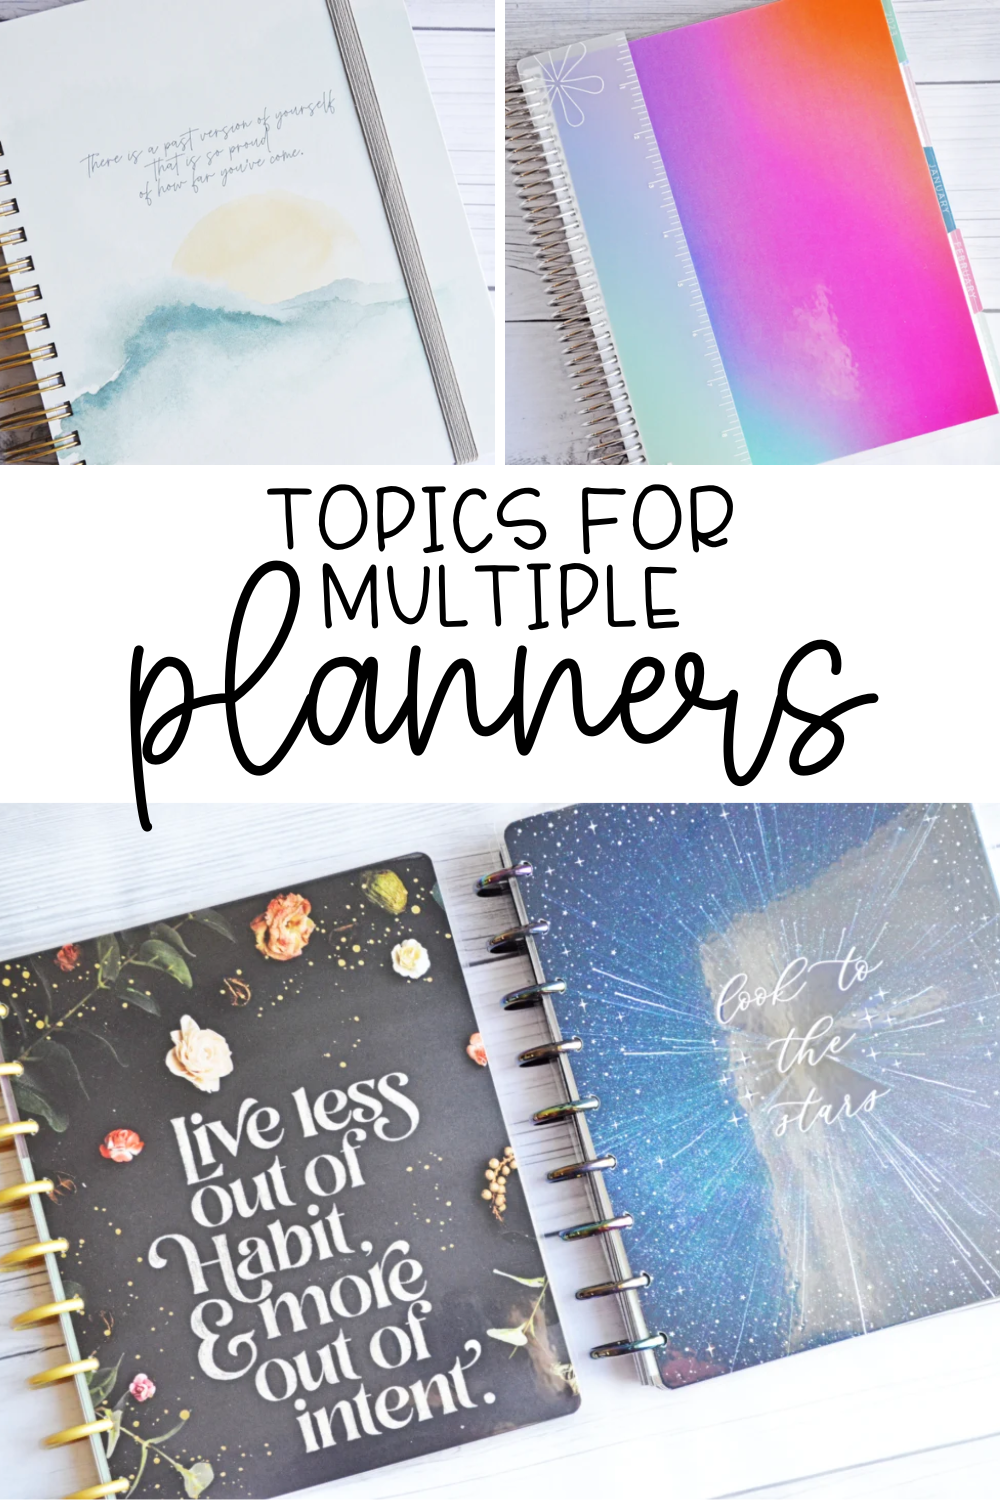
The first thing to do, before you ever buy your new planner is to choose the right planner for you. Do you want a planner you can add sections to, or a pre-bound planner that’s on a spiral like a notebook? Also, you’ll need to decide if you want to use one planner for everything or if you’d prefer to have multiple planners for different areas of your life– think one for work life and one for home life. This is the best way to start, and once you’ve nailed down your planning system you can get into how your planning will look in your daily life.
Working With Your Layout
Now, if you’ve already chosen your planner you can skip right past all of that and get into how to use the planner you have. Now, how you write in your planner and physically organize it will vary greatly, depending on if you have a monthly, weekly, or daily planner, and what layout your planner was designed in- I.E.. vertical or horizontal. If you are using the common vertical planner today, like the Happy Planner or Erin Condren vertical, they are usually organized with three vertical sections. You could give each section a purpose- such as a to-do list for one, appointments and important tasks for another, or you could divide them by time of day- think Morning, Afternoon, and Evening. With a planner layout that is broken down by hour, such as the hourly layout Erin Condren or the Daily Duo planner, this part is already decided for you, you’ll map your tasks out by time of day using the time blocks that are included. You can also ignore the time blocks, but I think most people that purchase an hourly planner are really looking to organize their daily schedule down to the hour. The horizontal planner layout might be the most tricky to determine how to divide up, but I have seen some really creative ideas. A great way to get inspiration for your specific planner or layout is to search by hashtags on Instagram and see what people are doing with similar planners.

Organizing the Monthly Planner
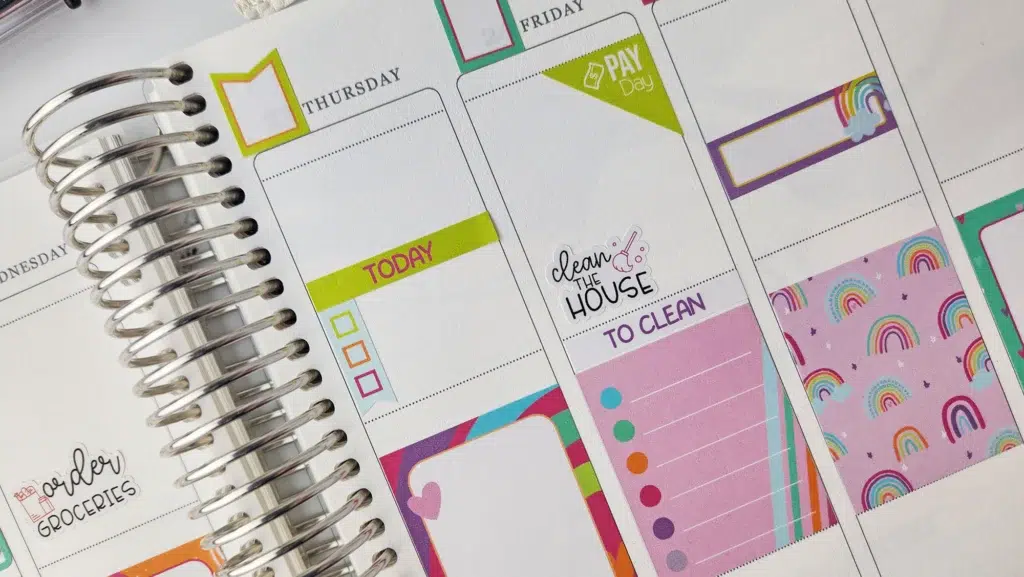
Most planners will come with a monthly views, even if they also have weekly or daily planning pages. A lot of time this is blank or people will ask what they should track there. I like to use my monthly layout for keeping track of important dates and important events I have to remember. It’s a great place to write down all of the special school events if you have kids. I know mine like to wait until the night before to tell me that they need money for xyz and I have to make a late night run to get some cash.
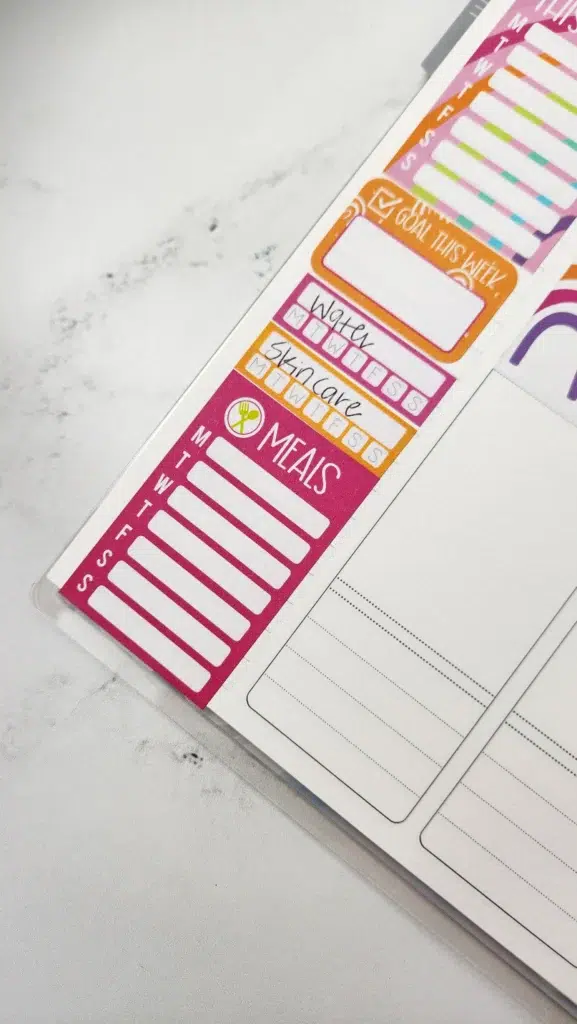
Tracking Habits & Routines
Now, the next step to actually planning and having your planner keep you organized is using it daily and creating a routine around your planning. Do you look at your planner while you have your coffee or do you review it at the end of the day, before you go to bed? Whichever works best for you, stick with that so that you can make planning a habit. I also like to plan a time on Sunday evening to sit down and get all of my plans in order for the upcoming week. You can easily map out important dates or due dates for things once a week, then fill in your to-do list on a day to day basis.
Speaking of routines and habits, a great way to plan for those would be a reminder in your planner for your morning routine, cleaning routine, evening routine, etc… there’s no need to write out your routine daily but just having a place to check it off can help you to be consistent. I also love using habit trackers in my planners, and some are even coming with them incorporated in now. Pick the top habit or habits you are working towards and track those in your planner daily. If you have a planner that has extra note pages for the month or at the back, you can also map out your routines there, as well, to reference, or if not, use your note taking app in your phone to map them out so you can look back at them until they become something you do naturally.

Prioritize Tasks
The next step in your planner is to prioritize your tasks. Some people do this by having a “Top 3” task list that they want to accomplish daily. Tasks could also be split into different categories, such as “urgent” and “extras” so that you complete all of your urgent tasks and move onto the others only if you have time. When you make your to-do list you can assign a number to each task, ordering them in order of importance. This will help you a ton with time management and making sure that the most important tasks are getting done each day.
Color Coding
A great way to separate tasks by type if you are including everything into one planner is by color coding. You can make work tasks one color and home tasks another, or if you have kids that do a lot of extra curricular activities, assign each family member a different color. You can use different colored pens or even different color highlighters.

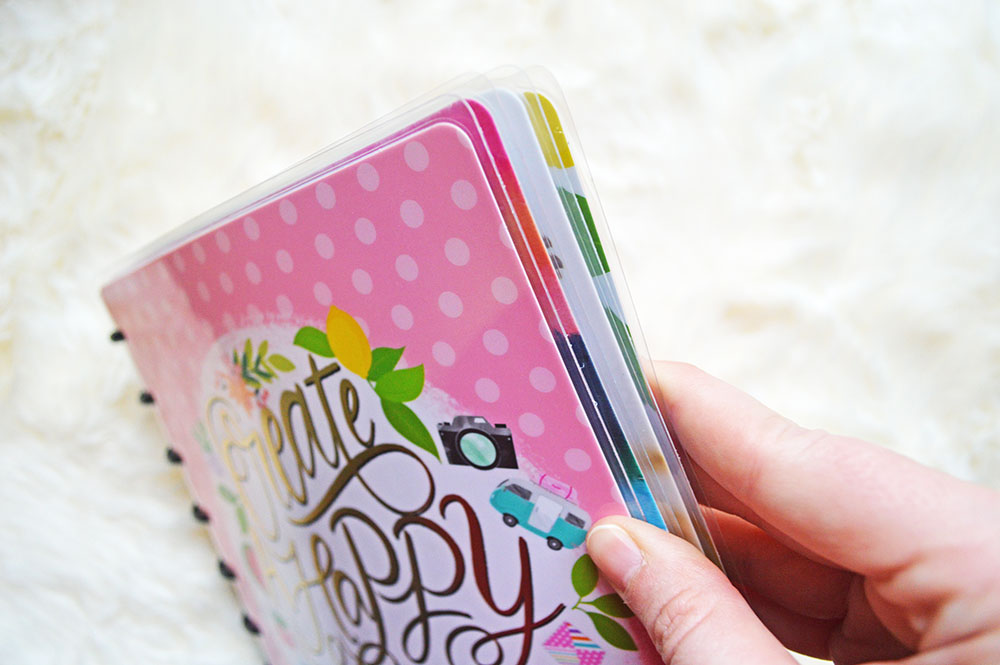
Using a Planner You Can Add Sections To
Having a planner you can add pages to is where we really get into organizing your physical planner beyond just how to use the sections in your main weekly or daily planner. If you have a ring bound system, or a discbound, or even a digital planner, you’ll have different sections outside of your main planning layouts that you can add to help you be even more organized. Some common sections to add are those for budgeting, fitness, meal planning, and even goal setting. You can create a section to plan for all of the different aspects of your life. You can keep track of your monthly or weekly budget, plan workout plans or track your nutrition, plan out meals for the whole week or month for your family, organize your grocery shopping, and even dig into your big goals and short term goals that you have and how to break those down into your daily or weekly planning. Maybe you are even a business owner and want to have a section just for planning out different aspects of your business.
Reviewing & Checking Back In
After you’ve planned out your week, do you shut the planner and never look at it again? Or at least, not until the next week or even month? The last thing to do is to make sure you come back and check back into your planner to see if you are accomplishing the things that you said at the beginning of the week were most important. You can reevaluate what you are prioritizing, and see if you are able to complete tasks you set out to, or if you need to reassess your priorities. Doing a weekly review of your past week in your planner is a great way to see what worked and what didn’t. Then, in the upcoming week you can choose to make extra time for different tasks or change things up a little bit.
These methods work whether you are a pen-only planner, or you use planner stickers to help you stay organized. Once you get in the swing of using your planner, you might even find that decorative sticker kits can actually help you organize your layout, if you enjoy using those.
I hope you’ve enjoyed these planner organization tips. Let us know what you are going to try next in your planner, down in the comments below. Also leave any questions and tell me what I should talk about next!
Looking for stickers for a fun way to organize your planner? Stop by our shop!